Using the Architextures Editor
To open the Editor, click Create at the top of the Architextures homepage or go to architextures.org/create.
This will direct you to the Editor with the default texture in the centre and the control panel on the left hand side.
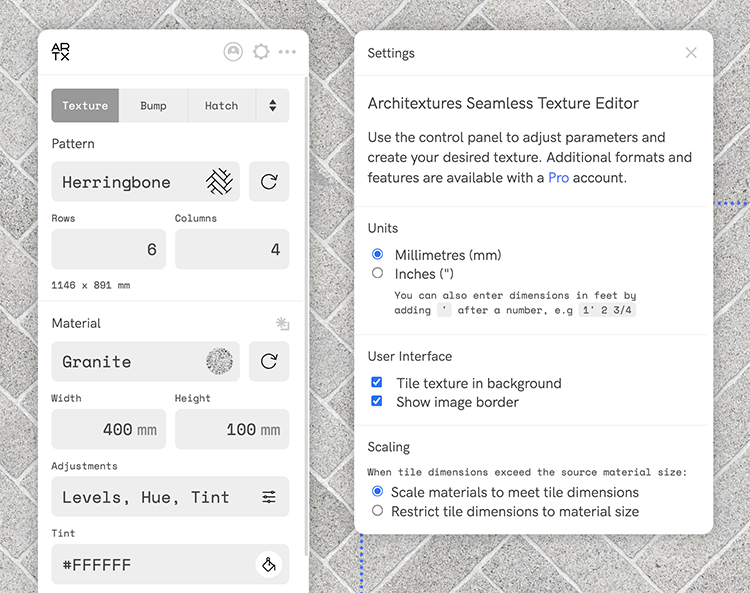
Additional settings and information, such as Units and User Interface settings, are displayed in the settings menu ![]()
Patterns
Choose a Pattern from the menu. Some of our patterns require a Pro Account.
Adjust the Rows and Columns, and the Angle, as desired. These settings will change the total dimensions of the texture, which are displayed underneath.
Materials
Choose a Material from the menu using the search function or by scrolling through the material categories.
Adjust the width and height of the material to reflect the size of each individual tile.
The Retile ![]() button can be used to sample different parts of the material source image.
button can be used to sample different parts of the material source image.
Adjustments can be made to the texture’s Brightness, Contrast, Hue, and Tint, as needed.
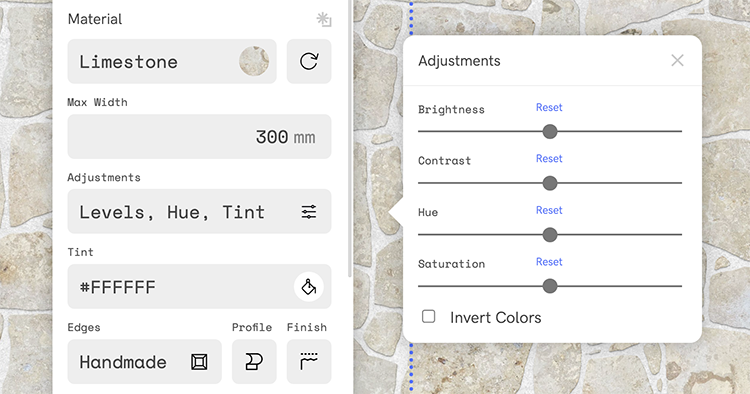
Edges, Profiles, and Finishes
Select an Edge style from the drop down menu. Adjust the Perimeter Scale, Profile Width, and Exclude Sides as desired.
Vary the tone of the material by using the Tone Variation slider. Using less variation will make the tones of the material more consistent throughout the texture, while using the tool at the maximum level will give the texture a fuller and more realistic appearance.
Surface Profiles ![]() and Finishes
and Finishes ![]() can be used for 2D textures, but also relate to the PBR settings.
can be used for 2D textures, but also relate to the PBR settings.
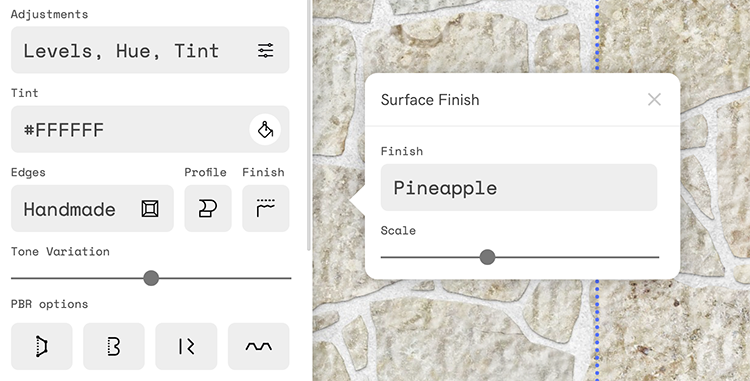
After selecting a profile or finish from the menu, use the scale slider or input a repetition value to complement the texture dimensions. Click here for more information regarding applying surface profiles and here for applying surface finishes.
Joints
Choose a Joint Material and make adjustments as needed. Change the Horizontal and Vertical values to alter the size of the joints.
Pro Features
Pro Users have the option to upload their own material and to add additional materials to a texture.
Upload your own material by selecting Upload ![]() at the top of the material menu.
at the top of the material menu.
Click select areas then click and drag on the source image to make selections. Reset areas will delete all selections. Delete selected will delete only the highlighted selection. Once uploaded, change the Upload Width in the editor to reflect the width of each tile.
Click here for more information on this feature.
Add additional materials to a texture by selecting Add Another Material ![]()
Edit the Placement of the material in the drop down menu or use the Frequency slider to adjust how often the material is sampled.
Further guidance on the Material Placement feature can be found here.
Downloading, Saving, and Sharing
Download your texture by clicking Save at the bottom of the editor and selecting Download. Make adjustments to the download Resolution by updating the Width and Height in the menu. To save your texture, click Save at the bottom of the editor panel and select Save and As new texture.
You can find your saved textures in your account admin page. You can also save textures to individual collections. More information about this feature can be found here.
Textures can be shared by creating a share link. To do this, click Save at the bottom of the editor panel, select Share link from the menu and click Get link.
A share link will now be created which can be copied and shared to your social media, email, and so on.
© Architextures 2026